Introduction:
In the ever-evolving world of web and mobile development, creating hybrid applications has become a popular approach. A hybrid mobile app combines the best of both worlds by using web technologies for cross-platform development while delivering a native app-like experience to users. In this article, we’ll explore how to create a hybrid mobile application using WordPress as a headless CMS, Next.js as the frontend framework, and Capacitor as the tool to convert the Next.js code into iOS and Android apps.
I. Understanding Headless CMS and Next.js
In the modern web development landscape, content management systems (CMS) have played a vital role in simplifying website creation and maintenance. Traditional CMS platforms typically handle both the backend content management and the frontend presentation. However, headless CMS takes a different approach, decoupling the backend from the frontend. A headless CMS provides a content API that allows developers to fetch data through API calls and build user interfaces using any technology they prefer.
What is a Headless CMS?
A headless CMS is a content management system where the backend and frontend are decoupled, enabling developers to access content through APIs. By separating the two layers, developers gain more flexibility and can use the same content across various platforms.

Headless CMS platforms like WordPress, Contentful, and Strapi have gained popularity due to their ability to support headless architecture. For this article, we’ll focus on using WordPress as our headless CMS.
Introducing Next.js
Next.js is a popular React framework that offers server-side rendering and static site generation. With built-in routing and performance optimizations, Next.js provides an excellent foundation for building hybrid mobile apps.
Next.js has gained popularity for its developer-friendly features, including automatic code splitting, serverless functions, and a smooth development experience. These characteristics make Next.js an ideal choice for creating hybrid mobile applications that are efficient, scalable, and SEO-friendly.
II. Setting Up WordPress as a Headless CMS
Before diving into the development process, we need to set up WordPress as our headless CMS. Let’s walk through the steps required to get started.
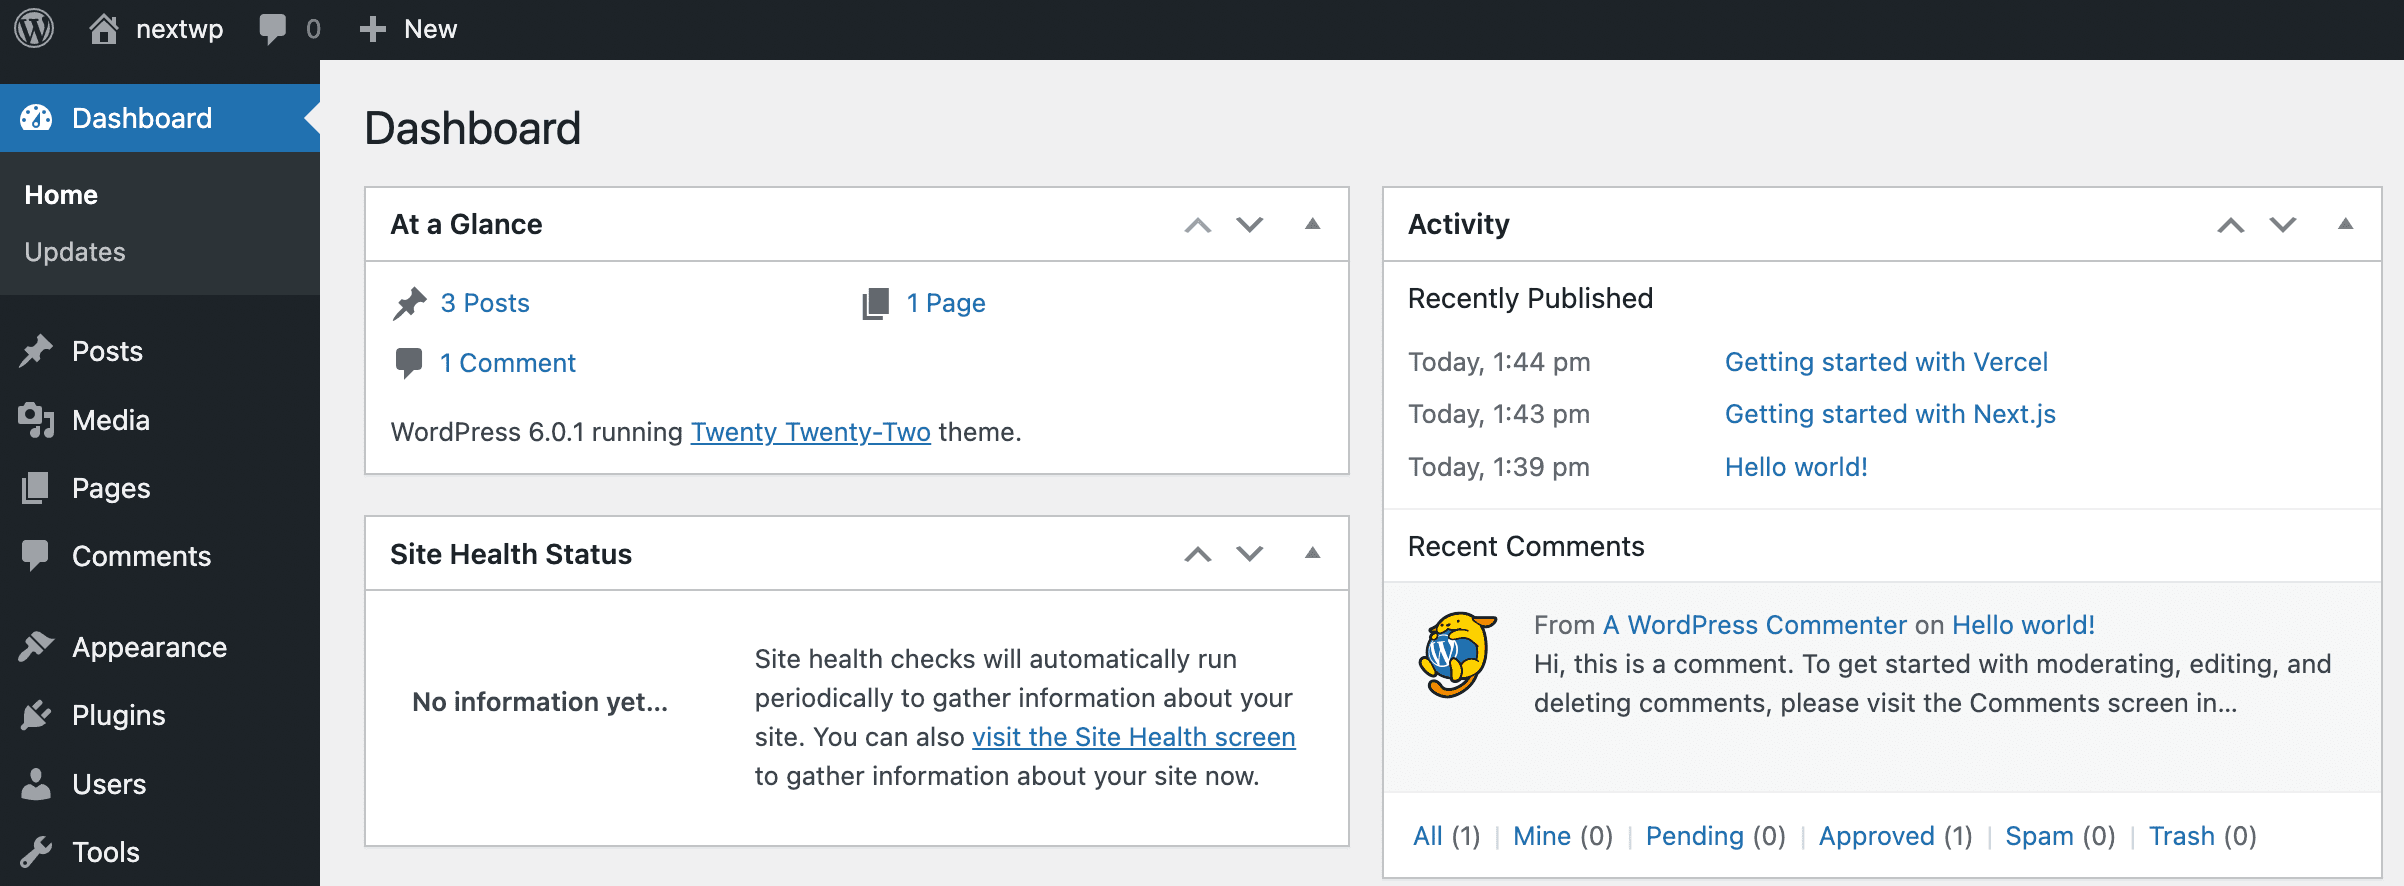
Installing WordPress
To use WordPress as a headless CMS, we need to install it on a server or opt for managed hosting. The process of setting up WordPress involves downloading the latest version, creating a MySQL database, and configuring basic settings.
Installing plugins like Advanced Custom Fields (ACF) or Custom Post Type UI will enable us to create custom post types and fields, offering more control over the data structure.
Creating Custom Content Types and Fields
Custom post types and custom fields allow us to organize content in a way that best suits our hybrid mobile application’s requirements. By installing and configuring plugins like Advanced Custom Fields (ACF) or Custom Post Type UI, we can easily create custom content types and fields.
For instance, if we are building a recipe-sharing app, we can create custom content types for “Recipes” and add custom fields such as “Ingredients,” “Instructions,” and “Preparation Time.” This structured data will be exposed through the WordPress API and fetched by our Next.js app.
Exposing WordPress Content via API
To enable our Next.js app to retrieve data from WordPress, we need to expose the content via APIs. Fortunately, WordPress provides options for this purpose.
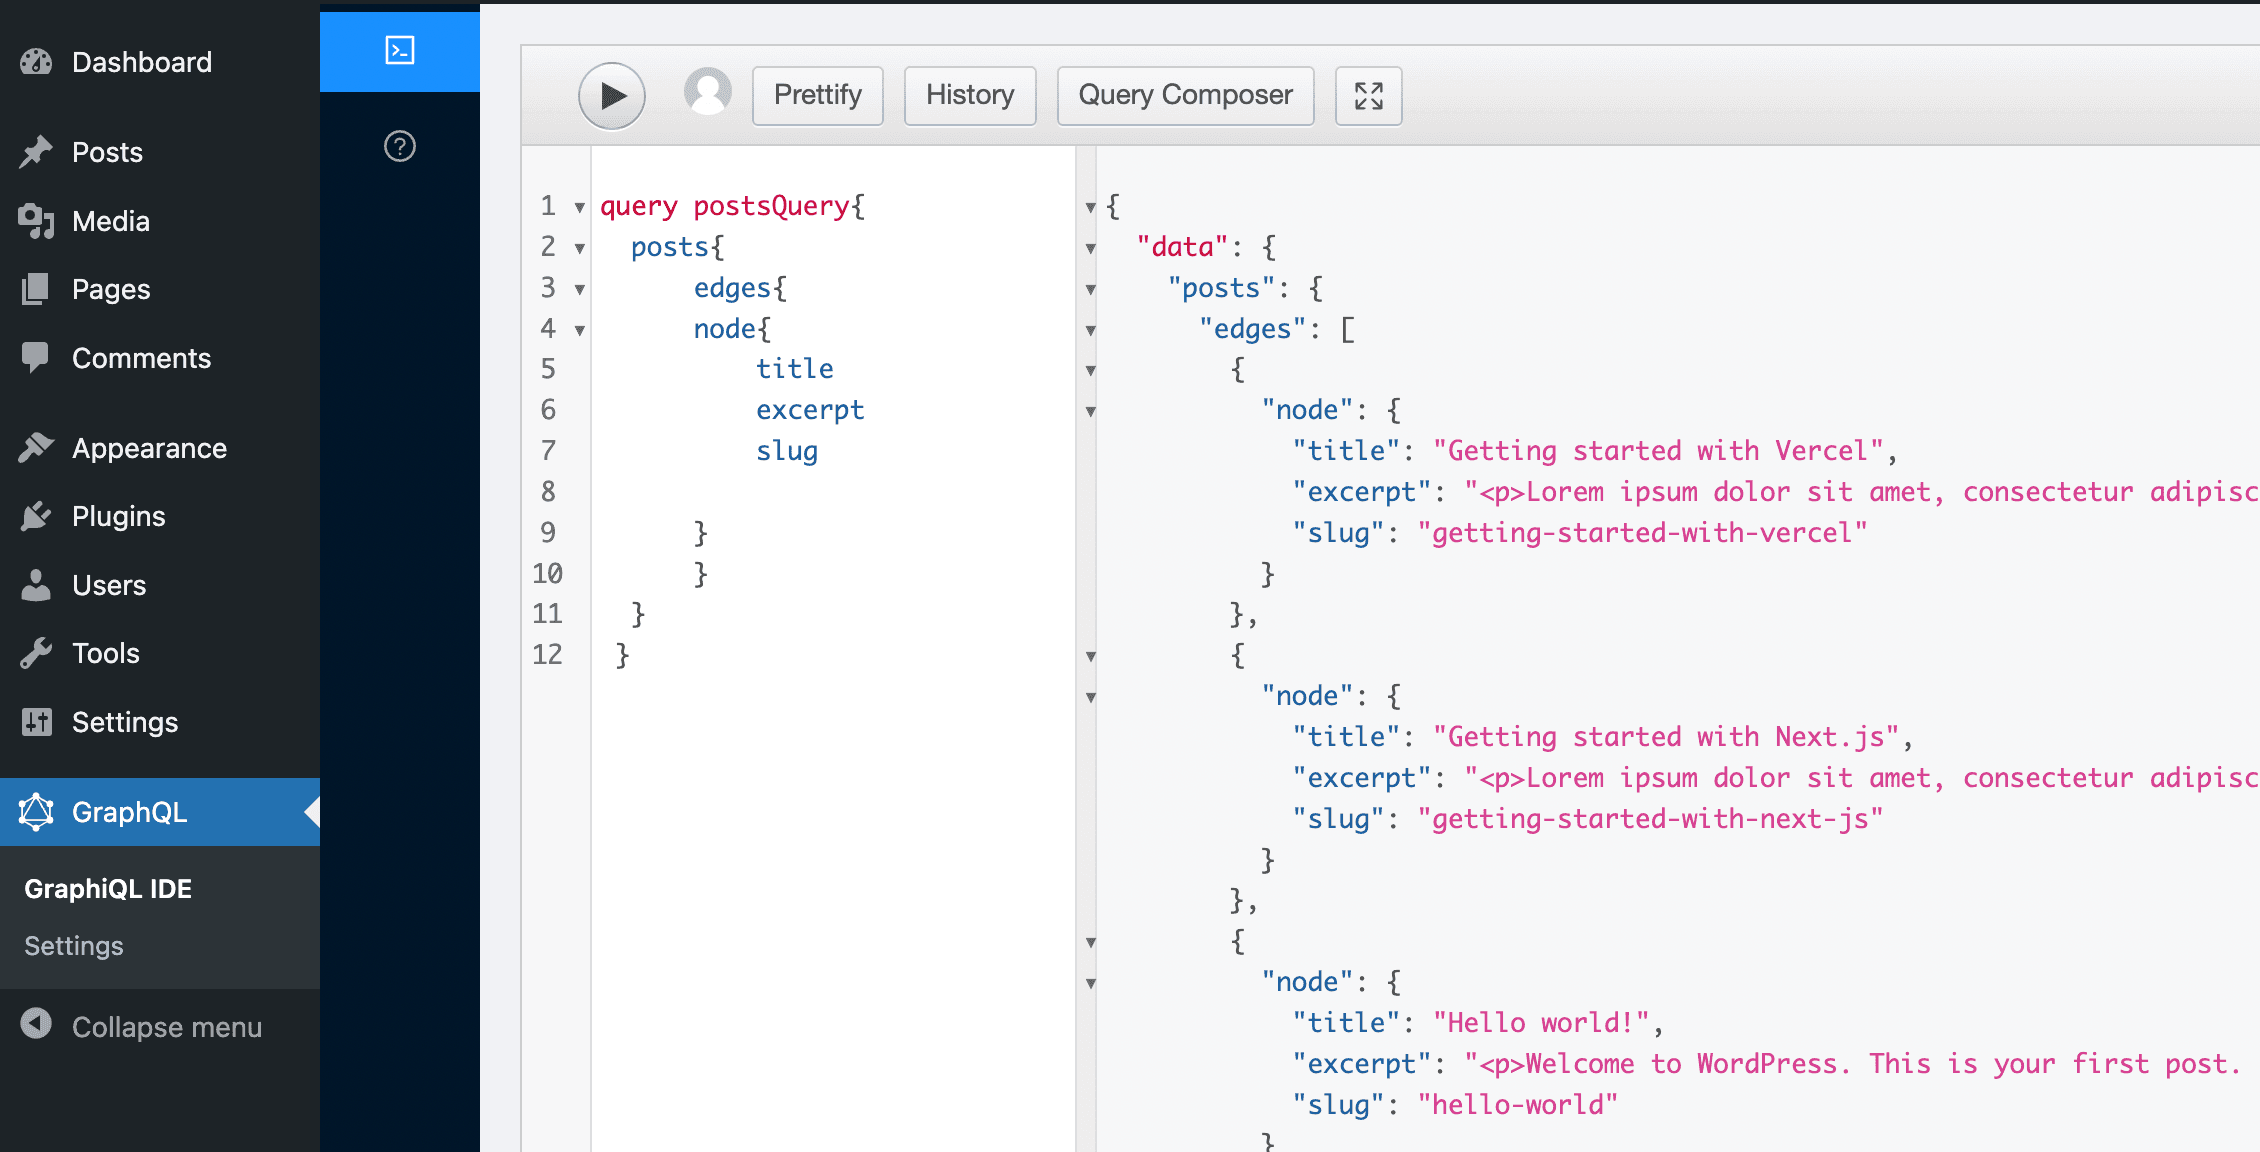
Using plugins like WP REST API or WPGraphQL, we can set up endpoints to retrieve specific data from WordPress. This way, our Next.js frontend can fetch the data it needs and display it seamlessly to the users.

III. Developing a Next.js Frontend
With our headless WordPress CMS set up, we can move on to developing the frontend using Next.js.
Initializing a Next.js Project
Creating a new Next.js project is straightforward. We can use the Next.js CLI to scaffold a new project. The CLI will set up the project structure, including the necessary files and folders for a basic Next.js app.
npx create-next-app --example cms-wordpress cms-wordpress-app
The advantage of using Next.js lies in its built-in routing system. Next.js automatically generates routes based on the file structure, making it easier to navigate between pages within the app.
Fetching Data from WordPress API
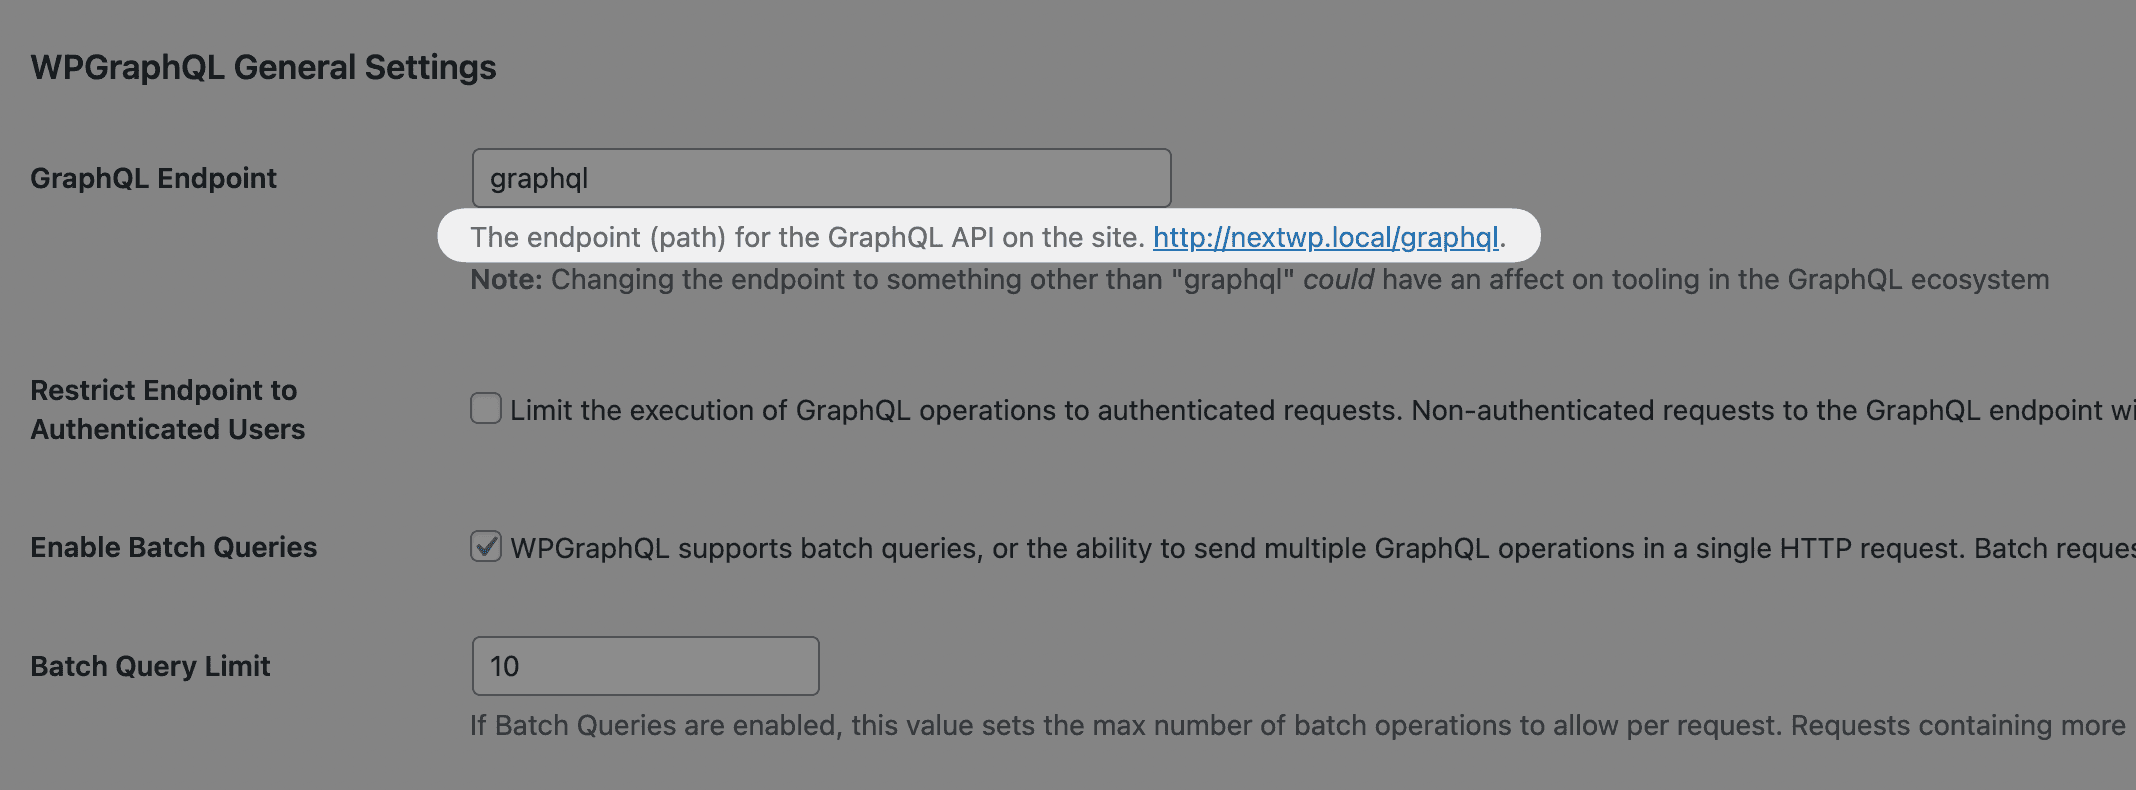
Next.js allows us to fetch data from various sources, including APIs. By using Axios or another HTTP client library, we can make API requests to the headless WordPress backend and retrieve the data we need. In the root directory, copy the .env.local.example to a new .env.local file and set the WORDPRESS_API_URL to your GraphQL API.
# .env.local
WORDPRESS_API_URL=
When fetching data from WordPress, we typically retrieve data in JSON format, which can be easily manipulated and rendered on the frontend.Find the endpoint in the GraphQL Settings section of the WordPress dashboard. WPGraphQL’s default is /graphql.

Building React Components
The heart of any Next.js app is its React components. These components define the user interface and logic of the application.
In our case, we can create React components to display the WordPress data fetched from the API. We can design these components to be mobile-responsive, ensuring a seamless user experience on various mobile devices.
Next.js offers various features to optimize components, such as lazy loading and code splitting, which help improve the app’s performance on mobile devices.
IV. Understanding Capacitor and Integrating with Next.js
With our Next.js app ready to go, we can now explore Capacitor and understand how it will enable us to convert our web app into native mobile apps.
What is Capacitor?
Capacitor is an open-source toolset and runtime that enables developers to convert web apps into native iOS and Android apps using web technologies like HTML, CSS, and JavaScript. Capacitor bridges the gap between web and native app development, allowing developers to use their existing web development skills to create cross-platform mobile applications.
By integrating Capacitor with our Next.js project, we can build hybrid mobile apps that leverage the web technologies used in Next.js while gaining access to native device features like the camera, geolocation, and notifications.
Integrating Capacitor with Next.js and WordPress
To integrate Capacitor with our existing Next.js and WordPress setup, we need to follow a few essential steps:
- Install Capacitor: We begin by installing Capacitor in our Next.js project using npm or yarn.
- Initialize Capacitor: Next, we initialize Capacitor in our project by running a simple command, which sets up the necessary configuration files and folders.
- Connect with Native Platforms: Capacitor requires additional setup for iOS and Android platforms. By running the appropriate commands, we can connect our Next.js codebase with the native platforms.
cd my-appnpm install @capacitor/core @capacitor/clinpx cap init --web-dir=out
V. Converting Next.js App into Native Apps with Capacitor
With Capacitor integrated into our Next.js project, we are now ready to convert our web app into native iOS and Android apps.
Installing Capacitor and Setting Up the Project
After initializing Capacitor in our project, we proceed to set up the project for both iOS and Android platforms. Capacitor provides a set of commands for this purpose, which handle the platform-specific configurations and dependencies.
Building the Hybrid App for iOS and Android
With Capacitor and our Next.js app ready for conversion, we can build the hybrid app for both iOS and Android platforms. Capacitor leverages tools like Xcode for iOS and Android Studio for Android to compile and package the app.
npx cap add androidnpx cap add ios
VI. Utilizing Native Plugins and Cross-Platform APIs
Capacitor’s true strength lies in its ability to access native device features and provide cross-platform APIs that work consistently across iOS and Android. By leveraging these capabilities, we can enhance our hybrid mobile app with native functionalities.
Accessing Native Device Features
Capacitor offers a collection of native plugins that enable our hybrid app to access device features like the camera, geolocation, and notifications. These plugins abstract the complexities of native APIs, making it easier for web developers to integrate such features into the app.
For example, we can use the Capacitor Camera plugin to allow users to take pictures directly from the app. Similarly, the Capacitor Geolocation plugin can be used to obtain the user’s current location for location-based features.
Using Cross-Platform APIs
Apart from native plugins, Capacitor provides cross-platform APIs that work uniformly across iOS and Android. These APIs cover essential functionalities like Storage, Network, and Device capabilities.
By using Capacitor’s cross-platform APIs, we ensure that our hybrid app functions consistently across different mobile platforms, reducing the need for platform-specific code.

VII. Optimizing for Mobile Performance
Building high-performance mobile apps is crucial for user satisfaction and engagement. Let’s explore some mobile performance best practices to optimize our hybrid app.
- Lazy Loading: Lazy loading is a technique where we defer the loading of non-critical assets until they are needed. By implementing lazy loading in our Next.js app, we can reduce the initial load time, leading to faster page rendering.
- Image Compression: Images are often the most significant contributors to page size. By compressing images and using modern image formats like WebP, we can significantly reduce the app’s load time and improve user experience.
- Minification: Minification involves removing unnecessary characters and white spaces from the code. This process reduces the overall file size, leading to faster downloads and rendering times.
VIII. Deploying the Hybrid Mobile App
With our hybrid mobile app developed and optimized, we are now ready to deploy it to the app stores.
Preparing for Deployment
Before deployment, it’s essential to thoroughly test our app to ensure that it functions as intended. We need to perform compatibility testing on various devices and screen sizes to identify and address any issues.
Publishing to App Stores
To publish our app to the app stores (Apple App Store and Google Play Store), we need to create developer accounts on both platforms. Each store has specific guidelines and policies that must be adhered to during the submission process.
Conclusion:
In this article, we have explored the process of building a hybrid mobile app using WordPress as a headless CMS, Next.js as the frontend framework, and Capacitor as the tool to convert our Next.js code into iOS and Android apps.
By leveraging WordPress as a headless CMS, we can efficiently manage content and ensure consistent data across various platforms. Next.js empowers us to develop a performant and SEO-friendly frontend that can be easily extended with various React components.
Integrating Capacitor bridges the gap between web and native app development, enabling us to use web technologies to create cross-platform mobile applications. By accessing native device features and cross-platform APIs, we can enhance our app with functionalities that offer a seamless user experience across different mobile platforms.
As we optimize our hybrid mobile app for performance, we prioritize techniques like lazy loading, image compression, and minification to deliver a fast and efficient user experience.
Finally, by adhering to best practices and guidelines, we can successfully deploy our hybrid mobile app to the app stores, opening up the opportunity to reach a broader audience.
In conclusion, the combination of WordPress, Next.js, and Capacitor offers a powerful and efficient approach to building hybrid mobile apps that deliver the best of both web and native app experiences. Embrace this approach to unlock the potential of reaching a wider audience and creating exceptional mobile applications. Happy coding!

